Setting up your corebot instance
Corebot offers 600+ features, allowing you to replace many bots with one.
Our offering does not come bundled with a Corebot license. You will need to purchase a license from either BuiltByBit or Polymart.
Prerequisites
When you have purchased Corebot from one of the above websites, you should have the option to download the latest version.
Creating your Discord bot
Your Discord account must have a verified email address to be able to create a bot application/account.
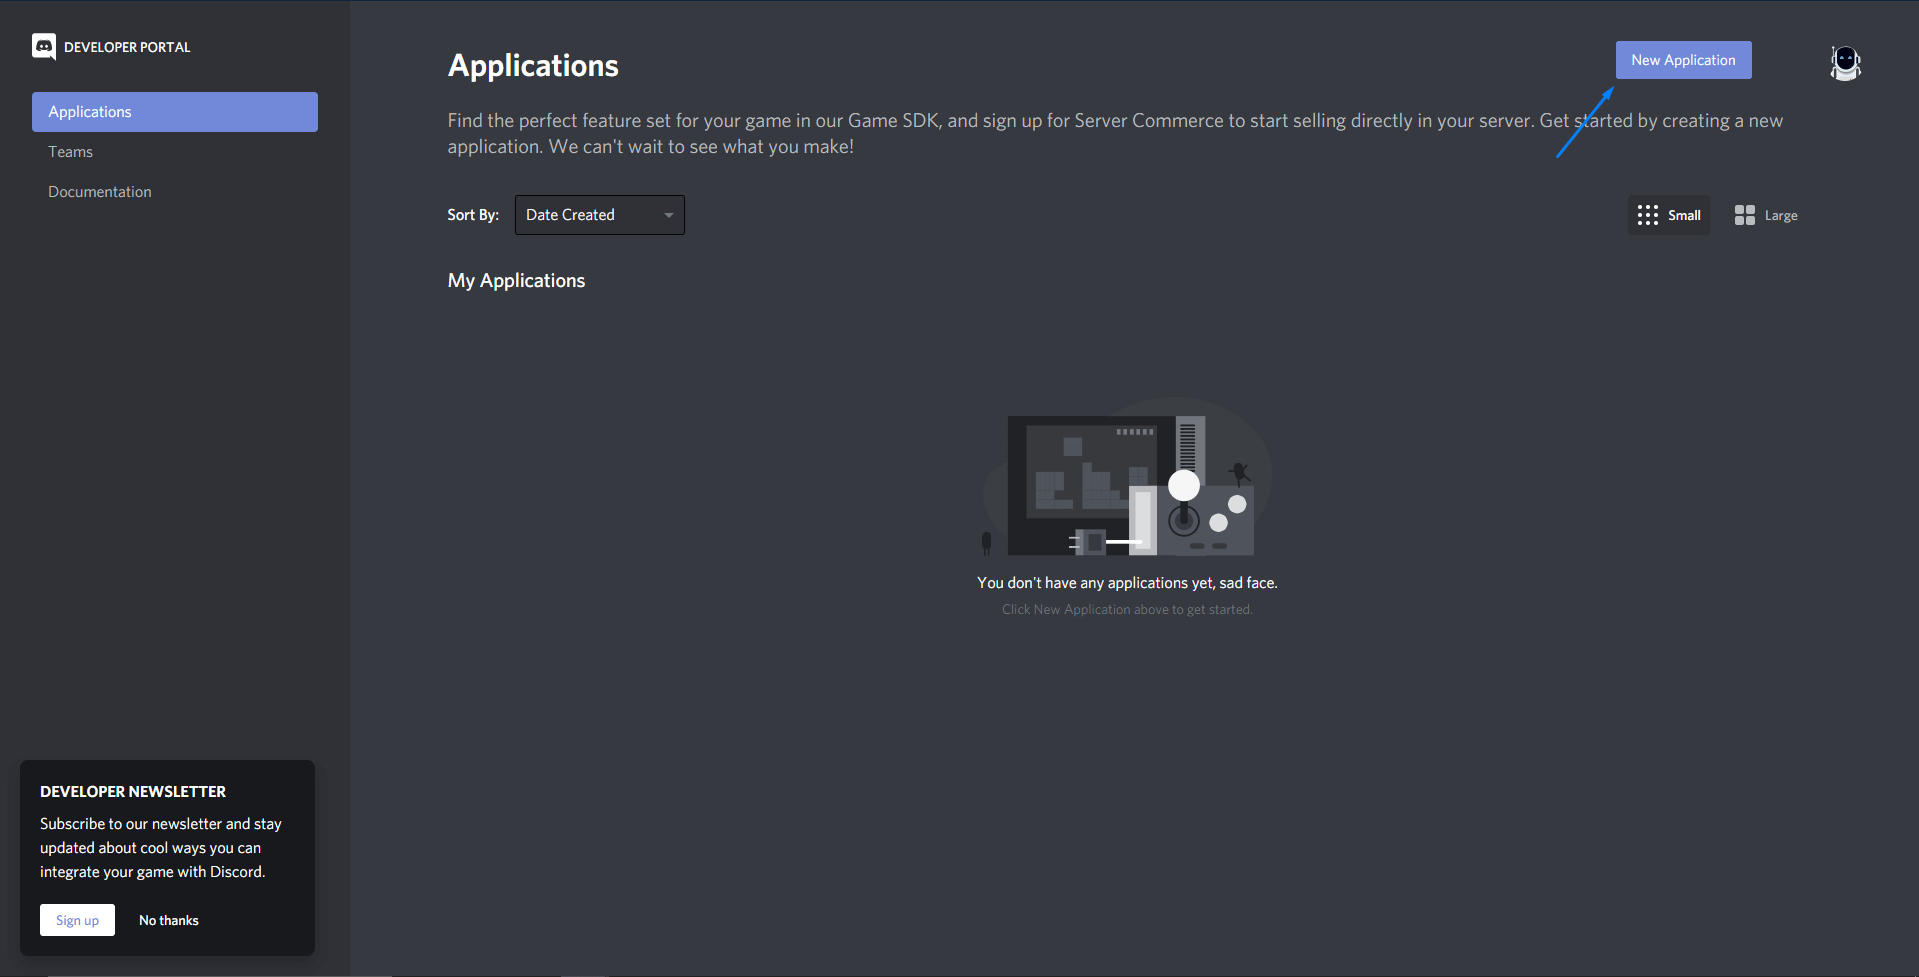
Go to the Discord Developer Portal: https://discordapp.com/developers/applications
Click on the New Application button.
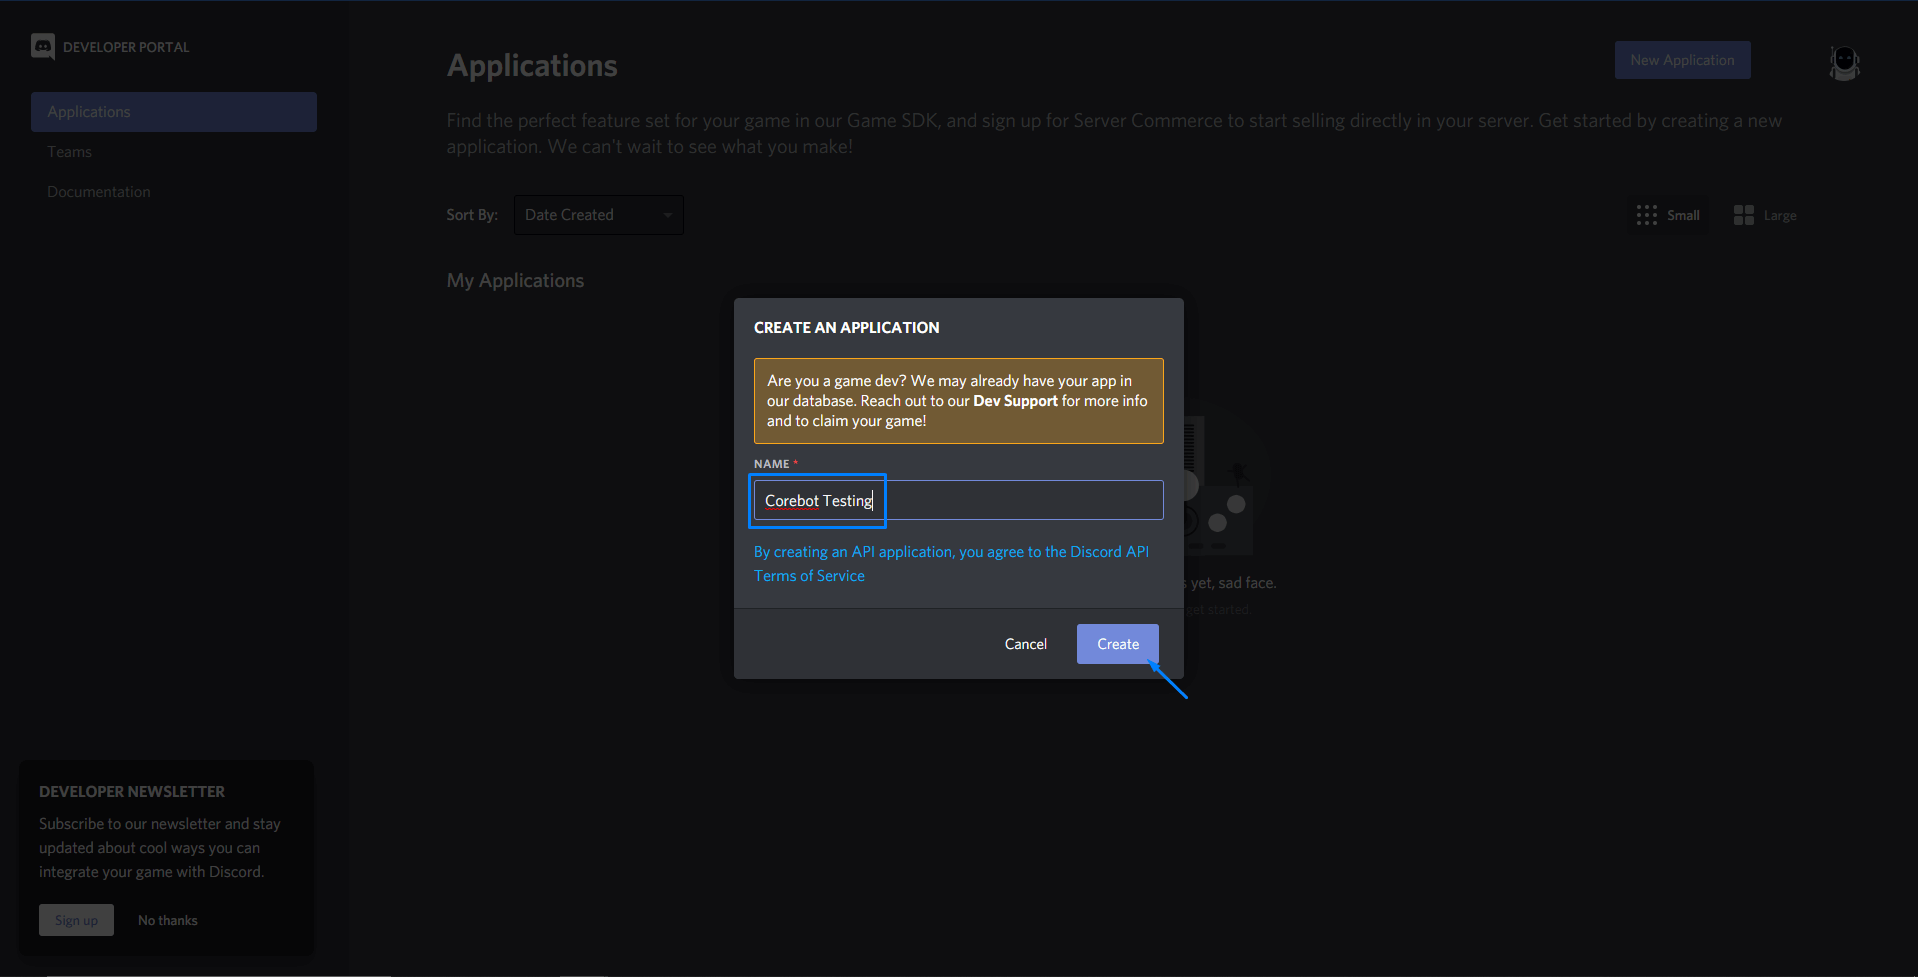
Enter a name for your bot and click on the Create button.
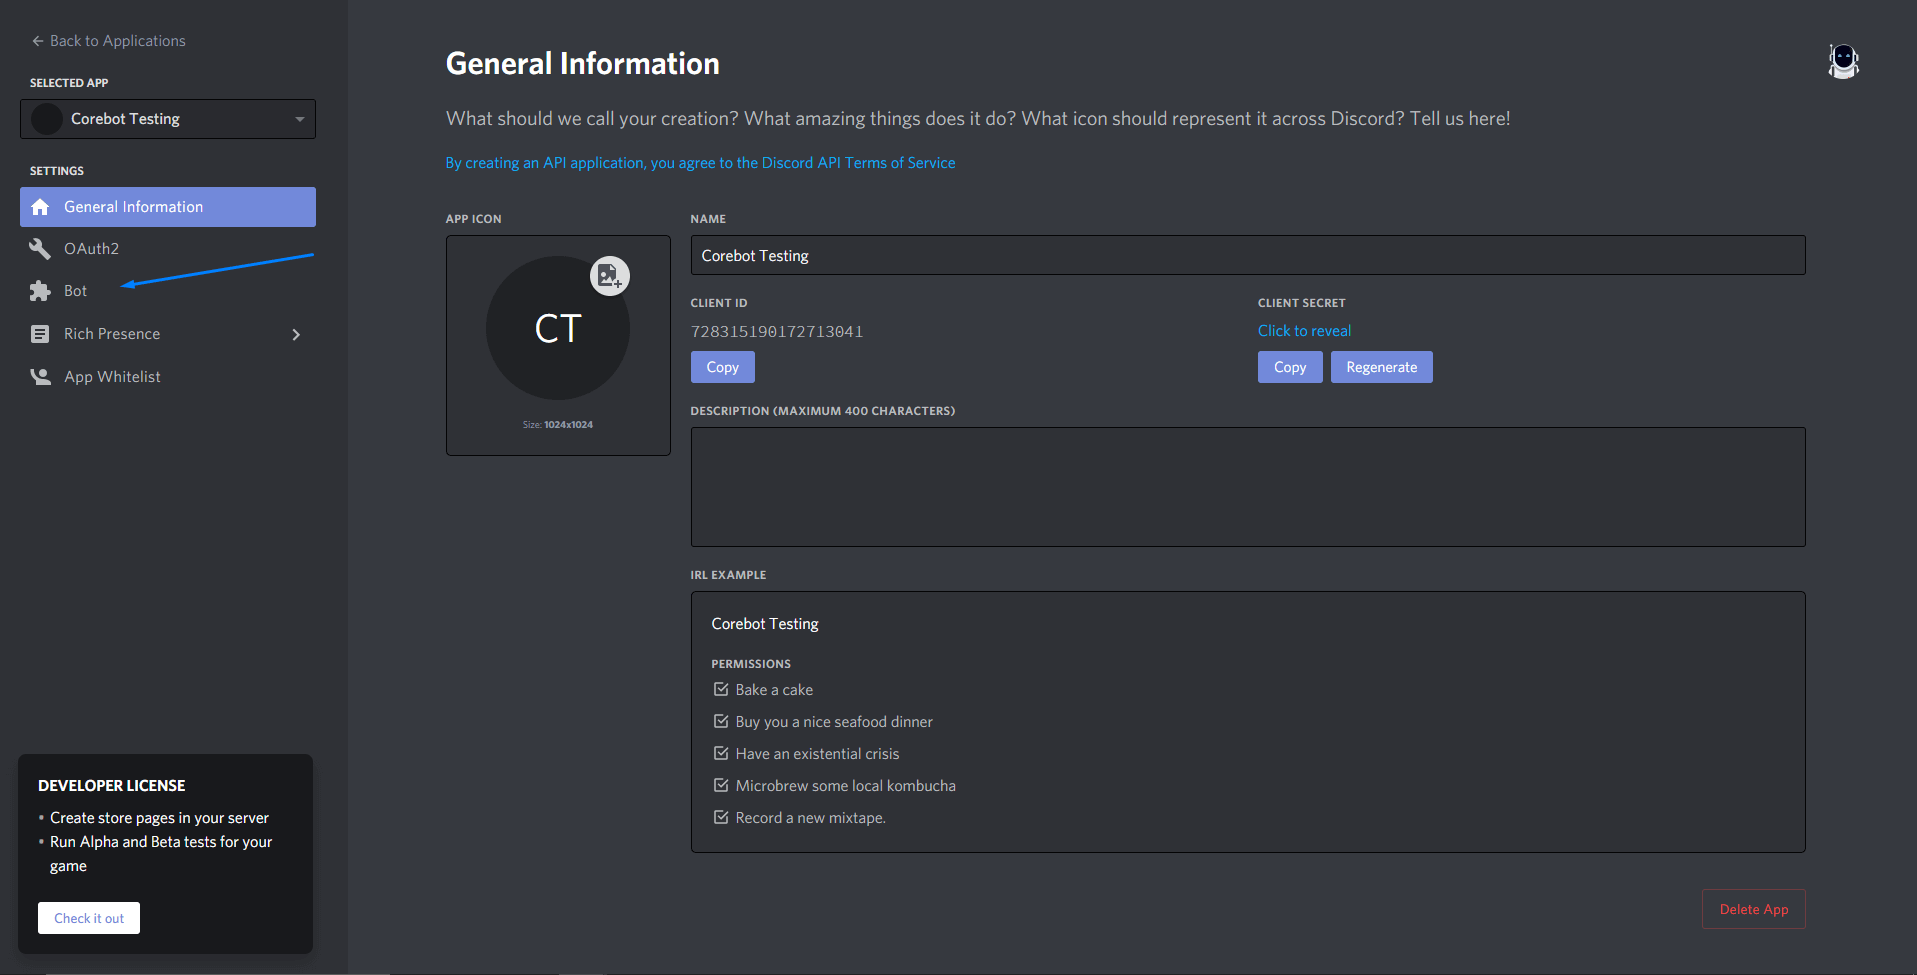
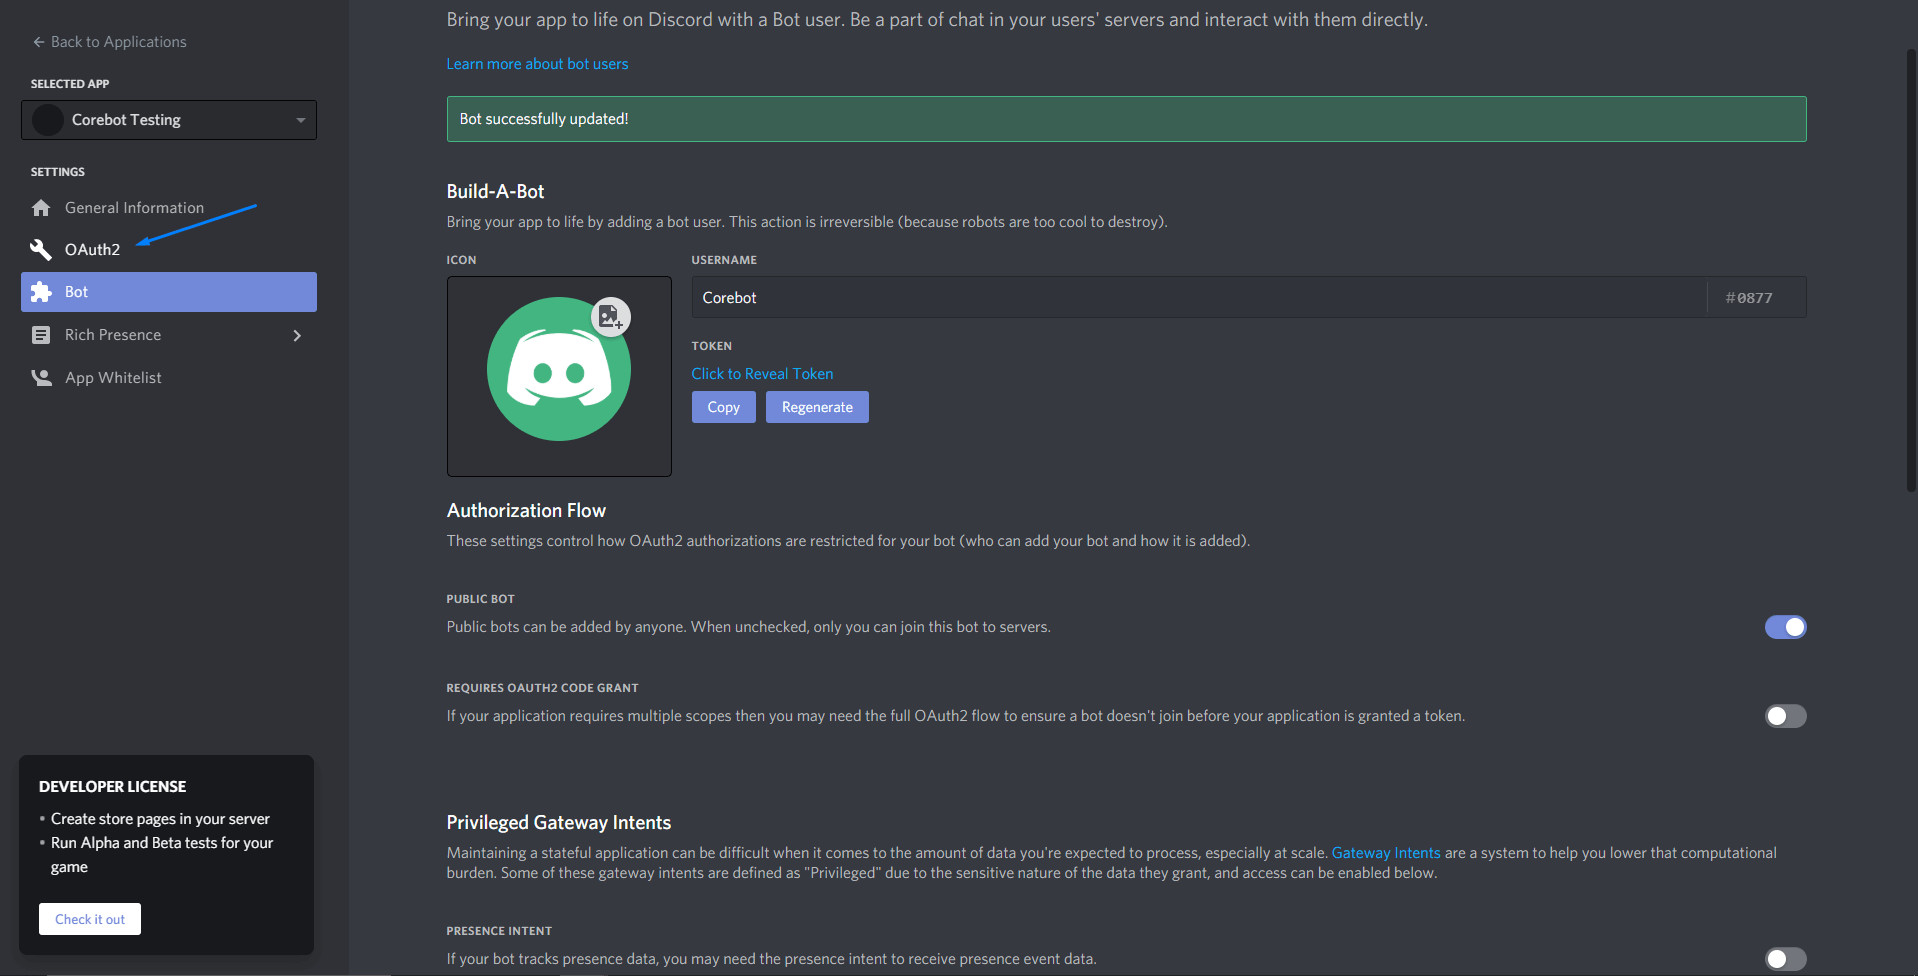
Click on the Bot tab on the left-hand side of the page.
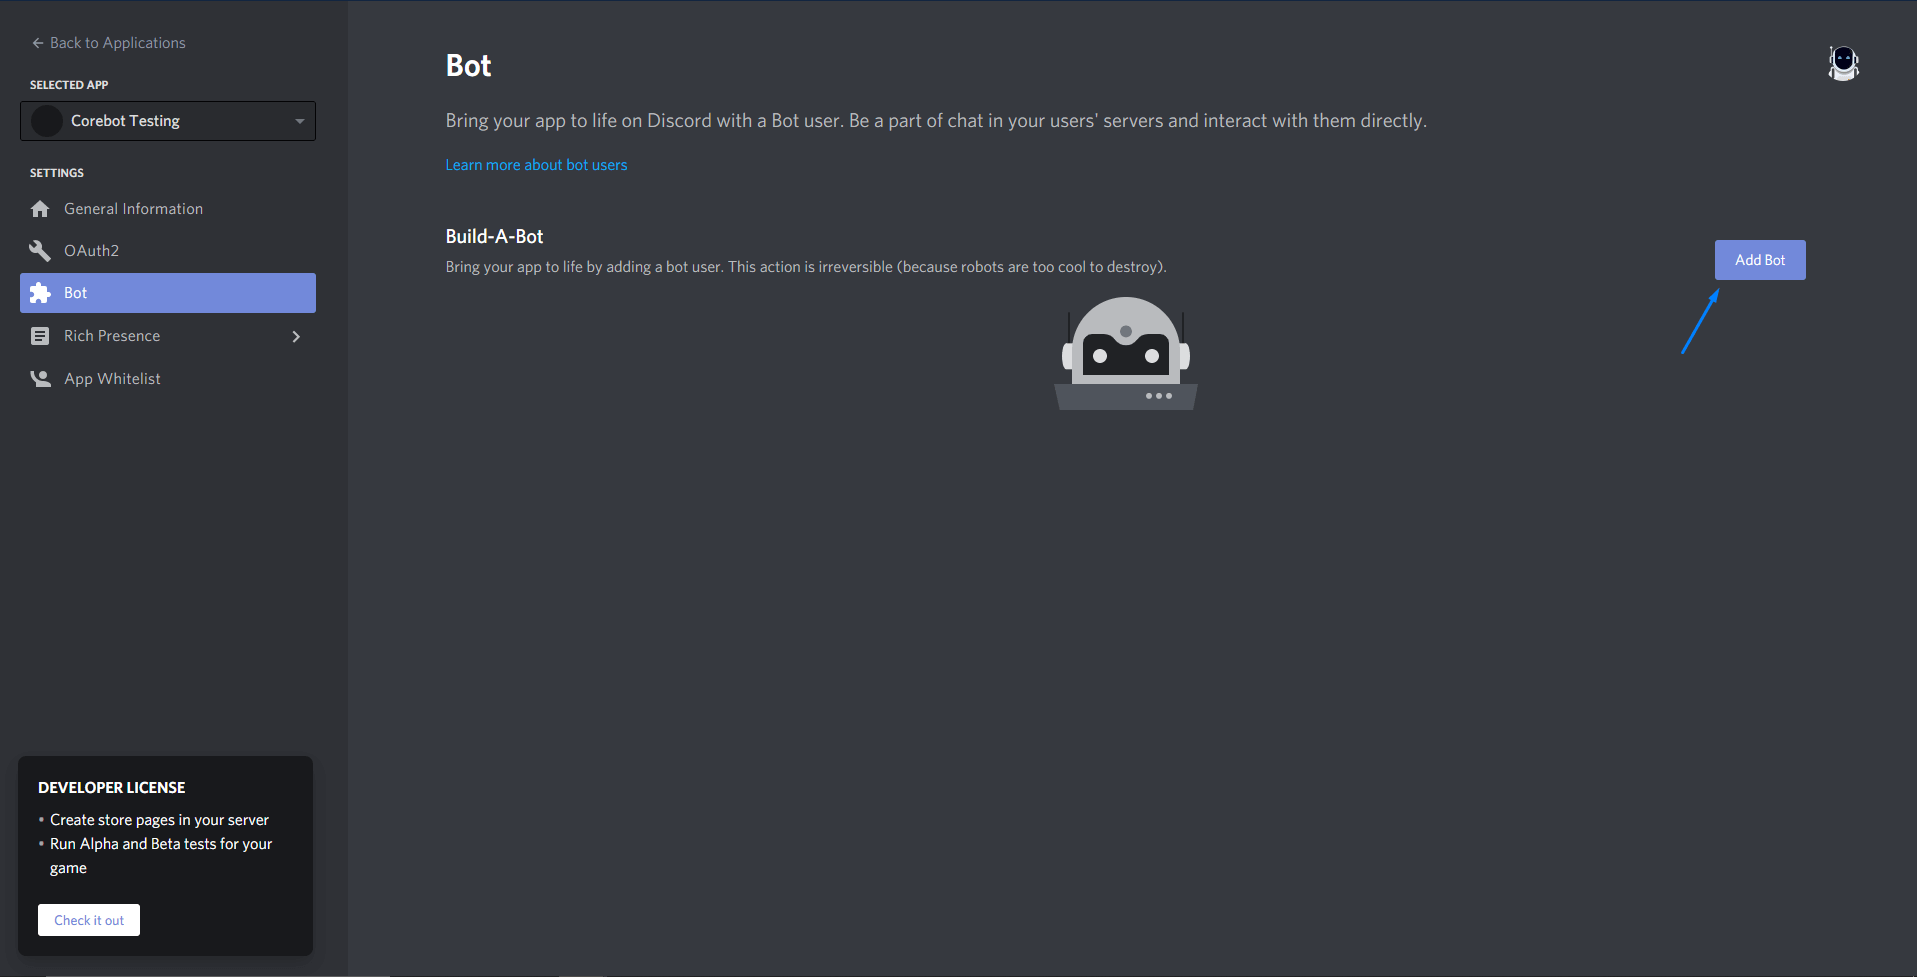
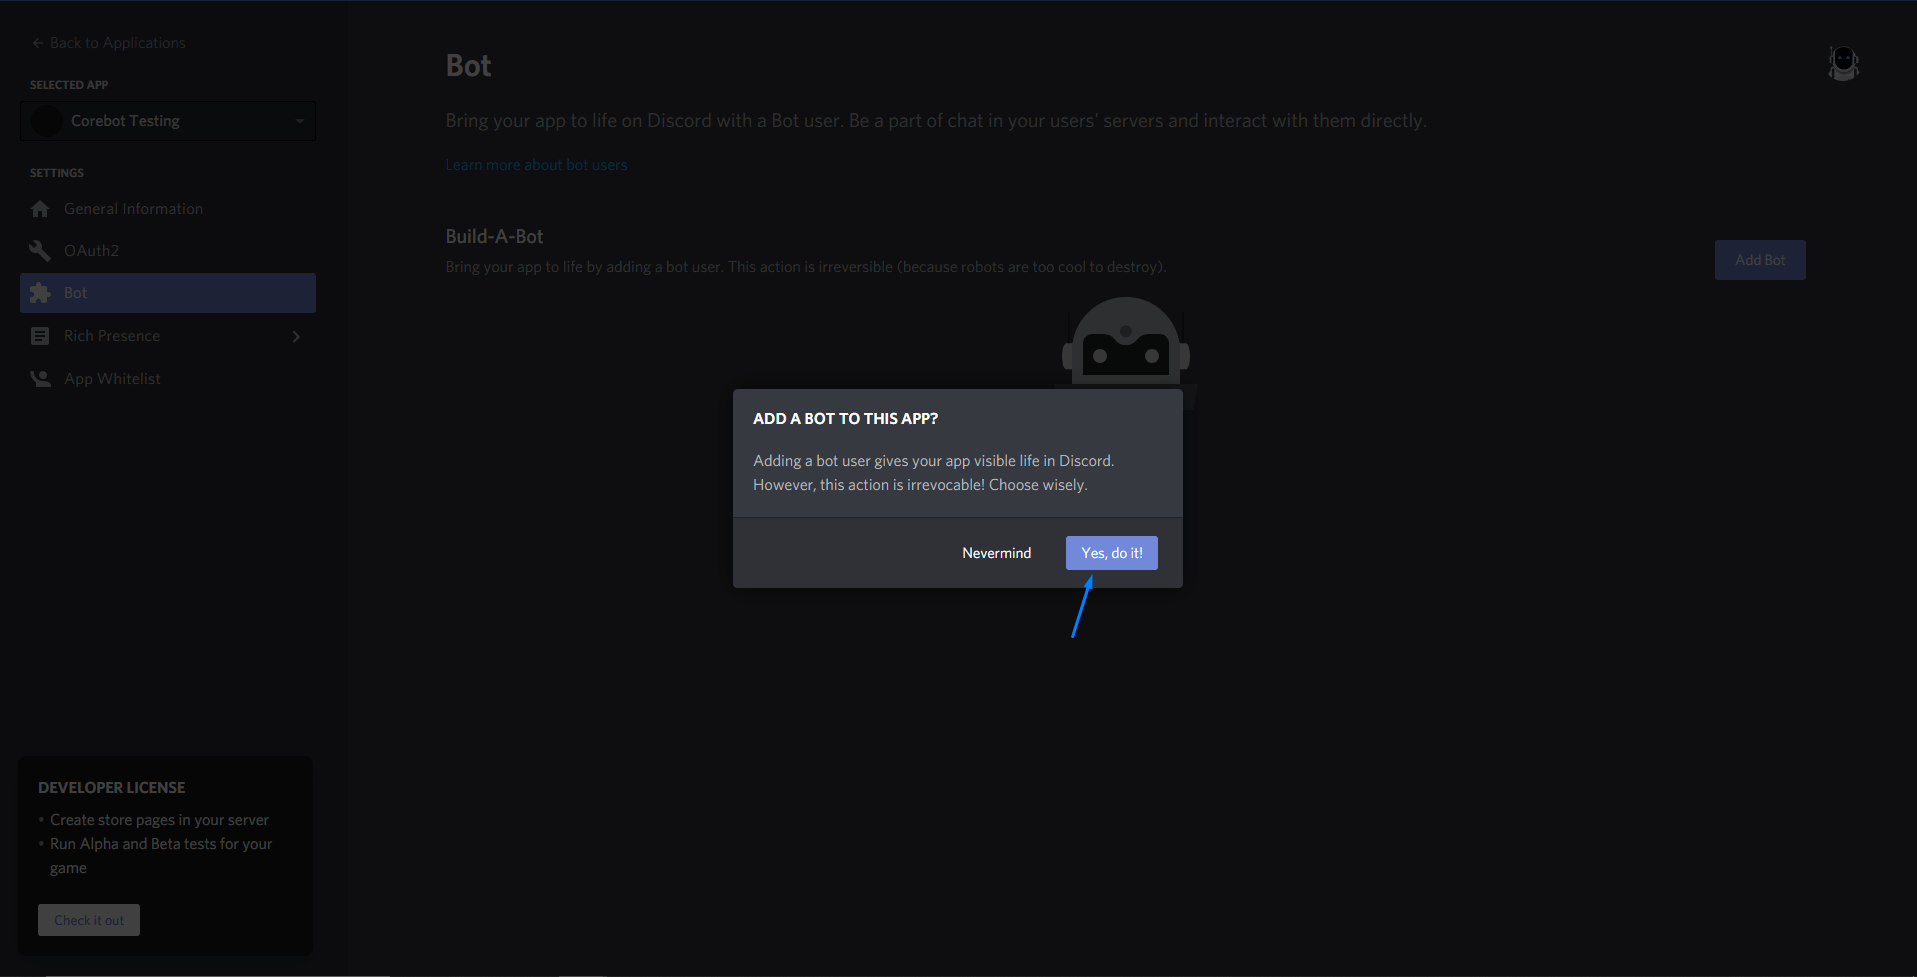
Click on the Add Bot button.
Click on the Yes, do it! button.
Here, you can change the bot's profile picture and account name. Be sure to enable ALL of the the Privileged Gateway Intents including "PRESENCE INTENT", "SERVER MEMBER INTENT", and "MESSAGE CONTENT INTENT". If you don't, the bot will not work properly.
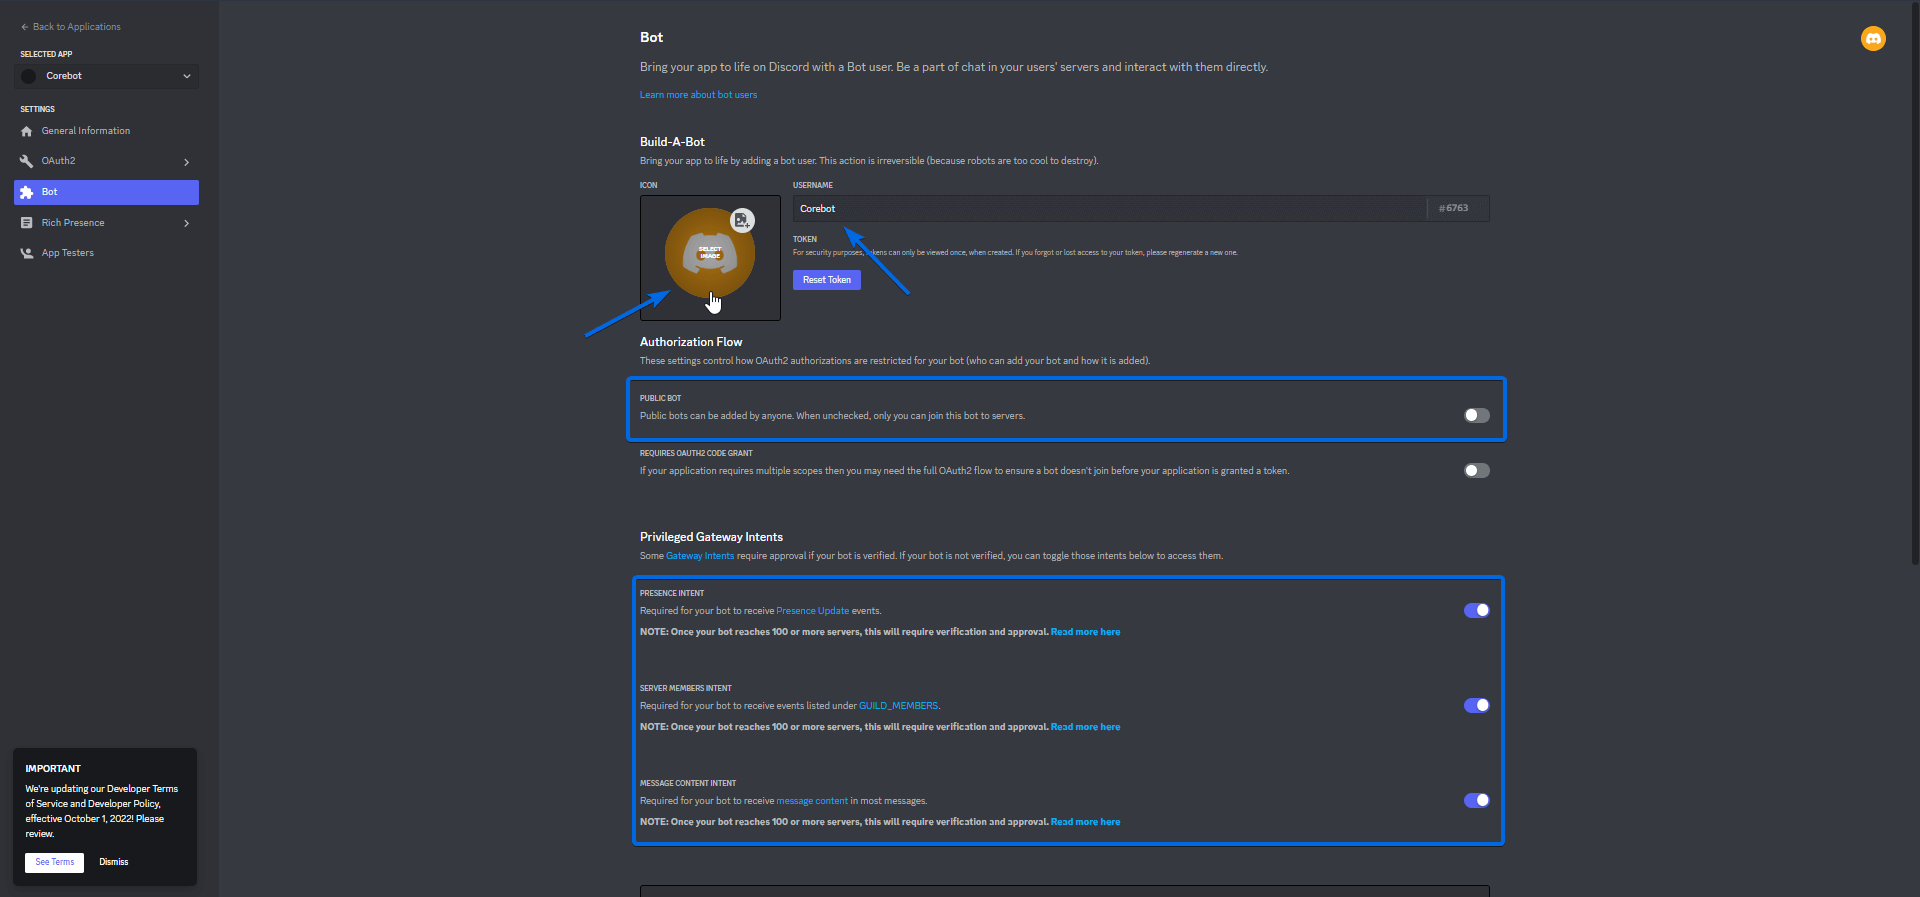
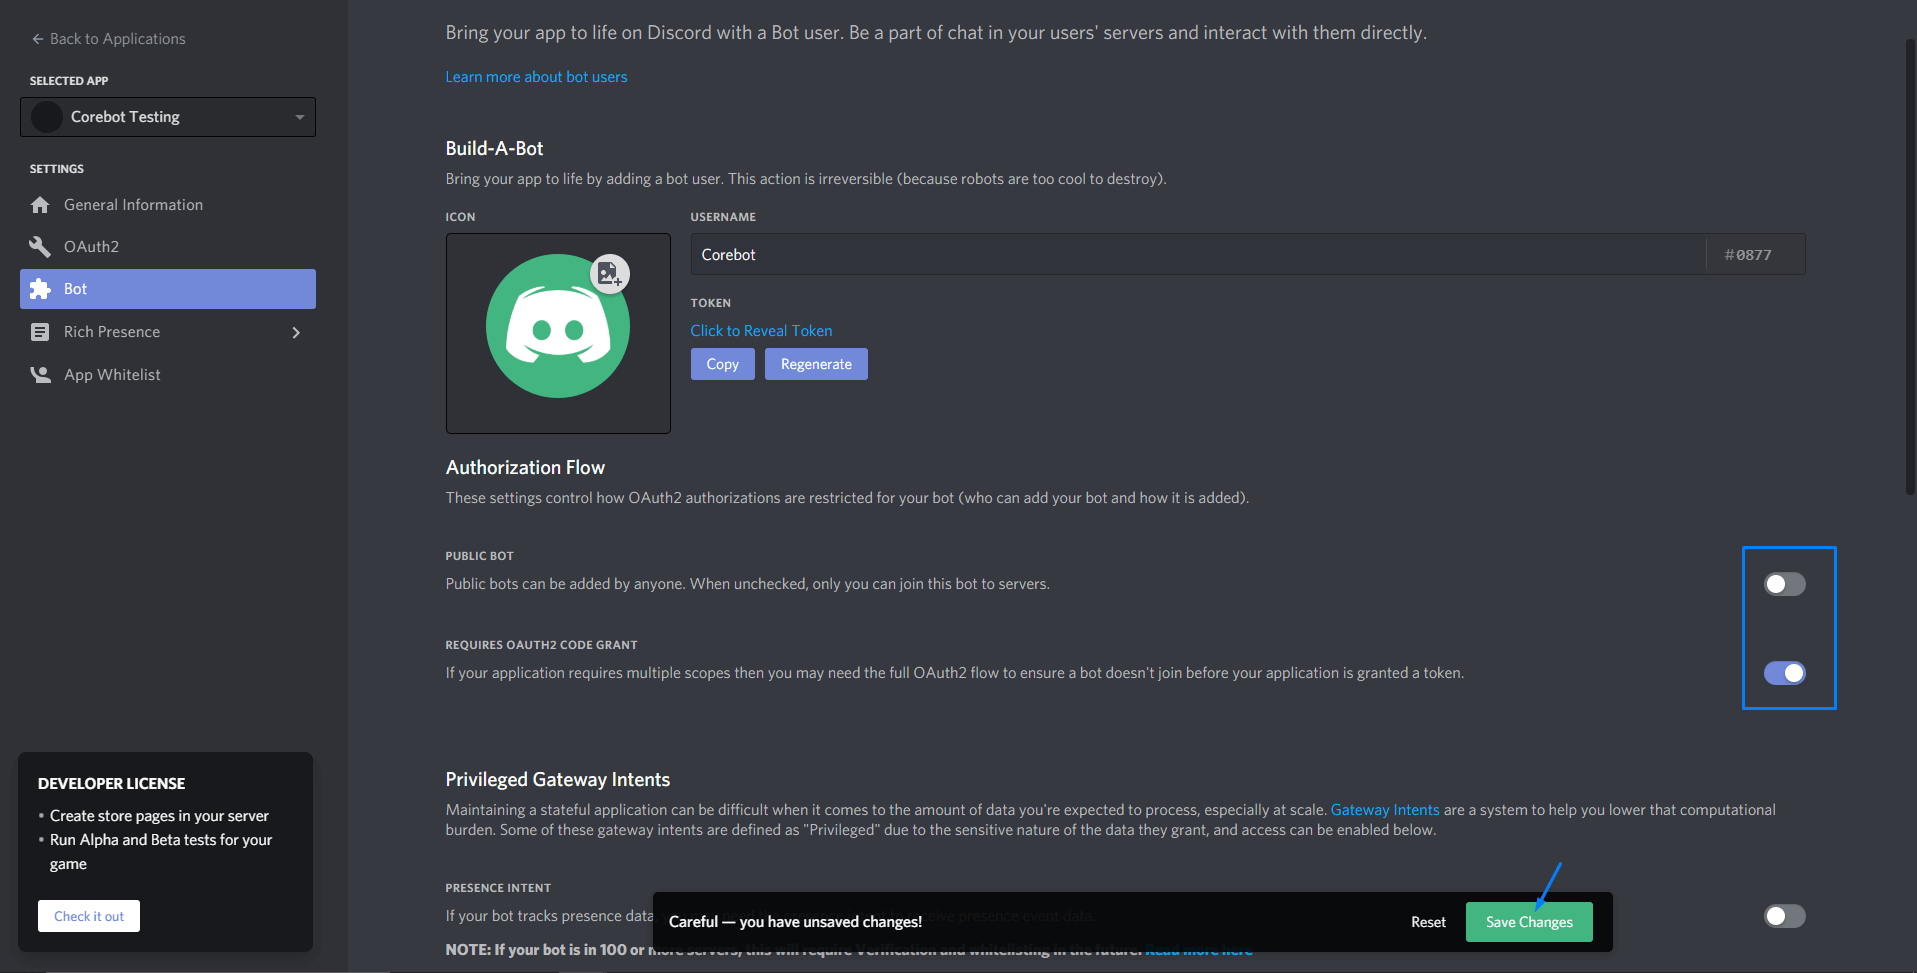
Additionally, for security measures, disable "Public Bot". This will prevent other people from inviting your bot to their server!
Inviting your bot to your server
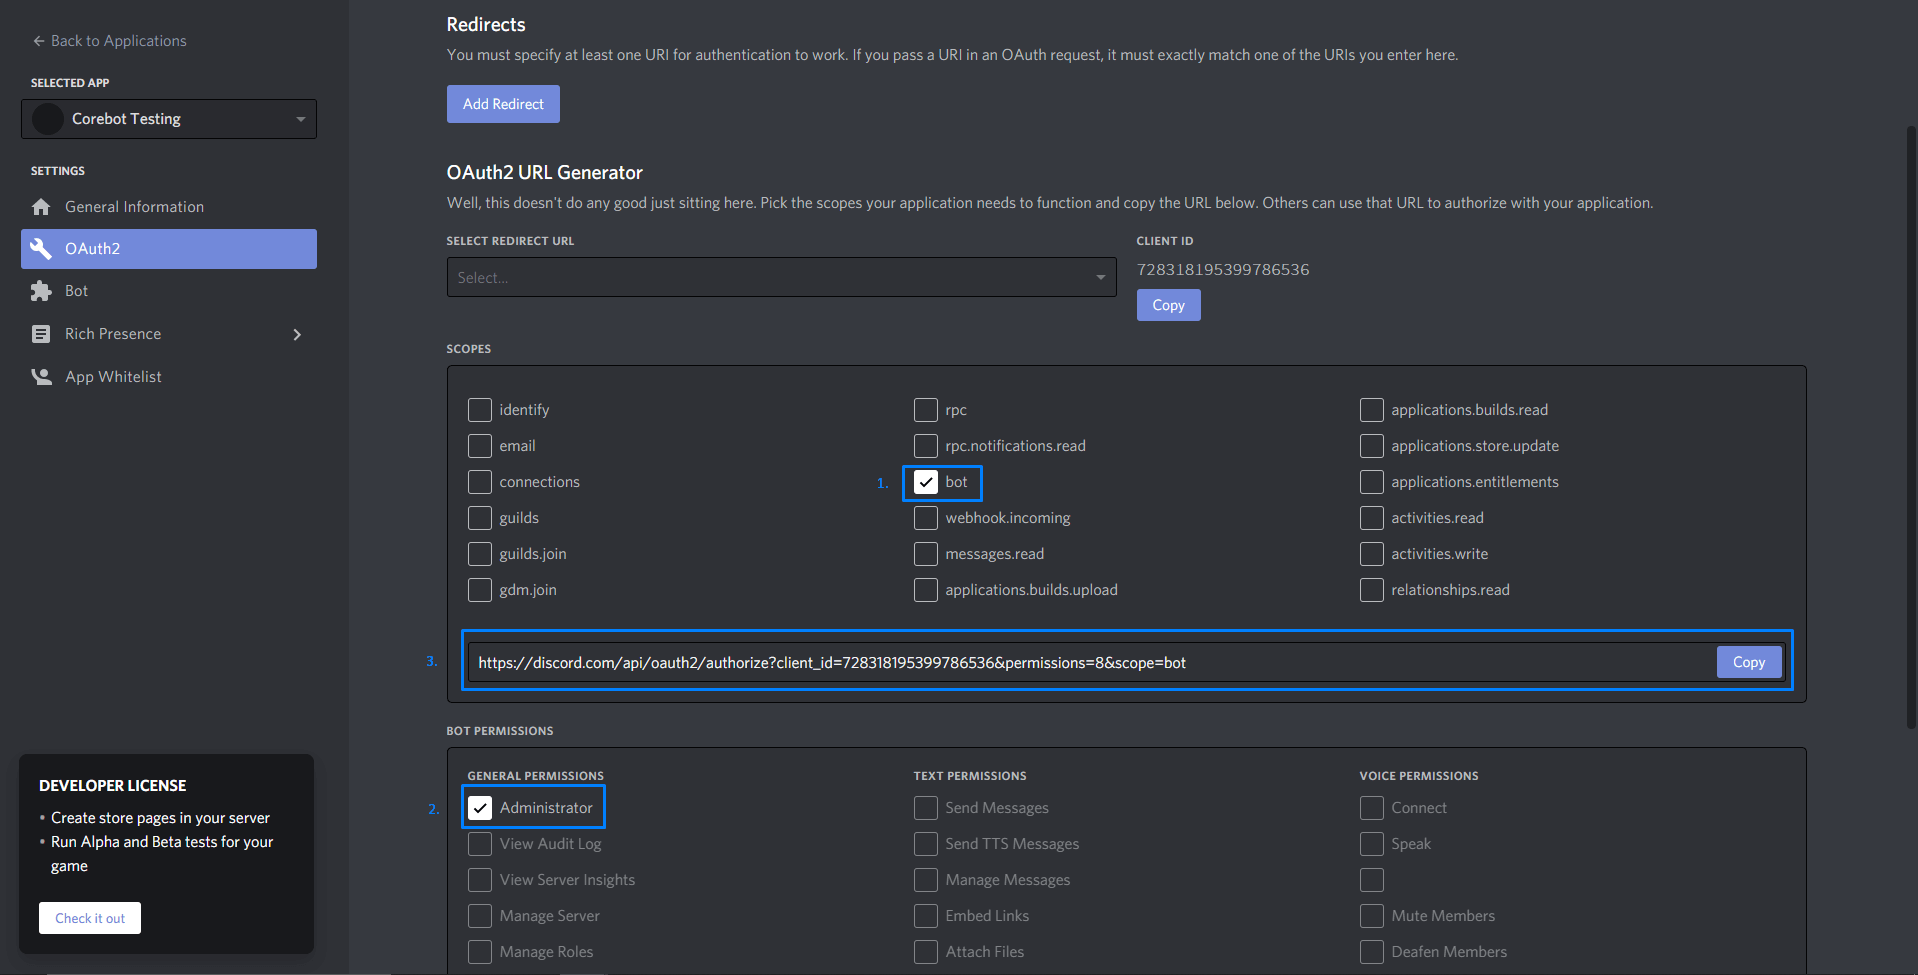
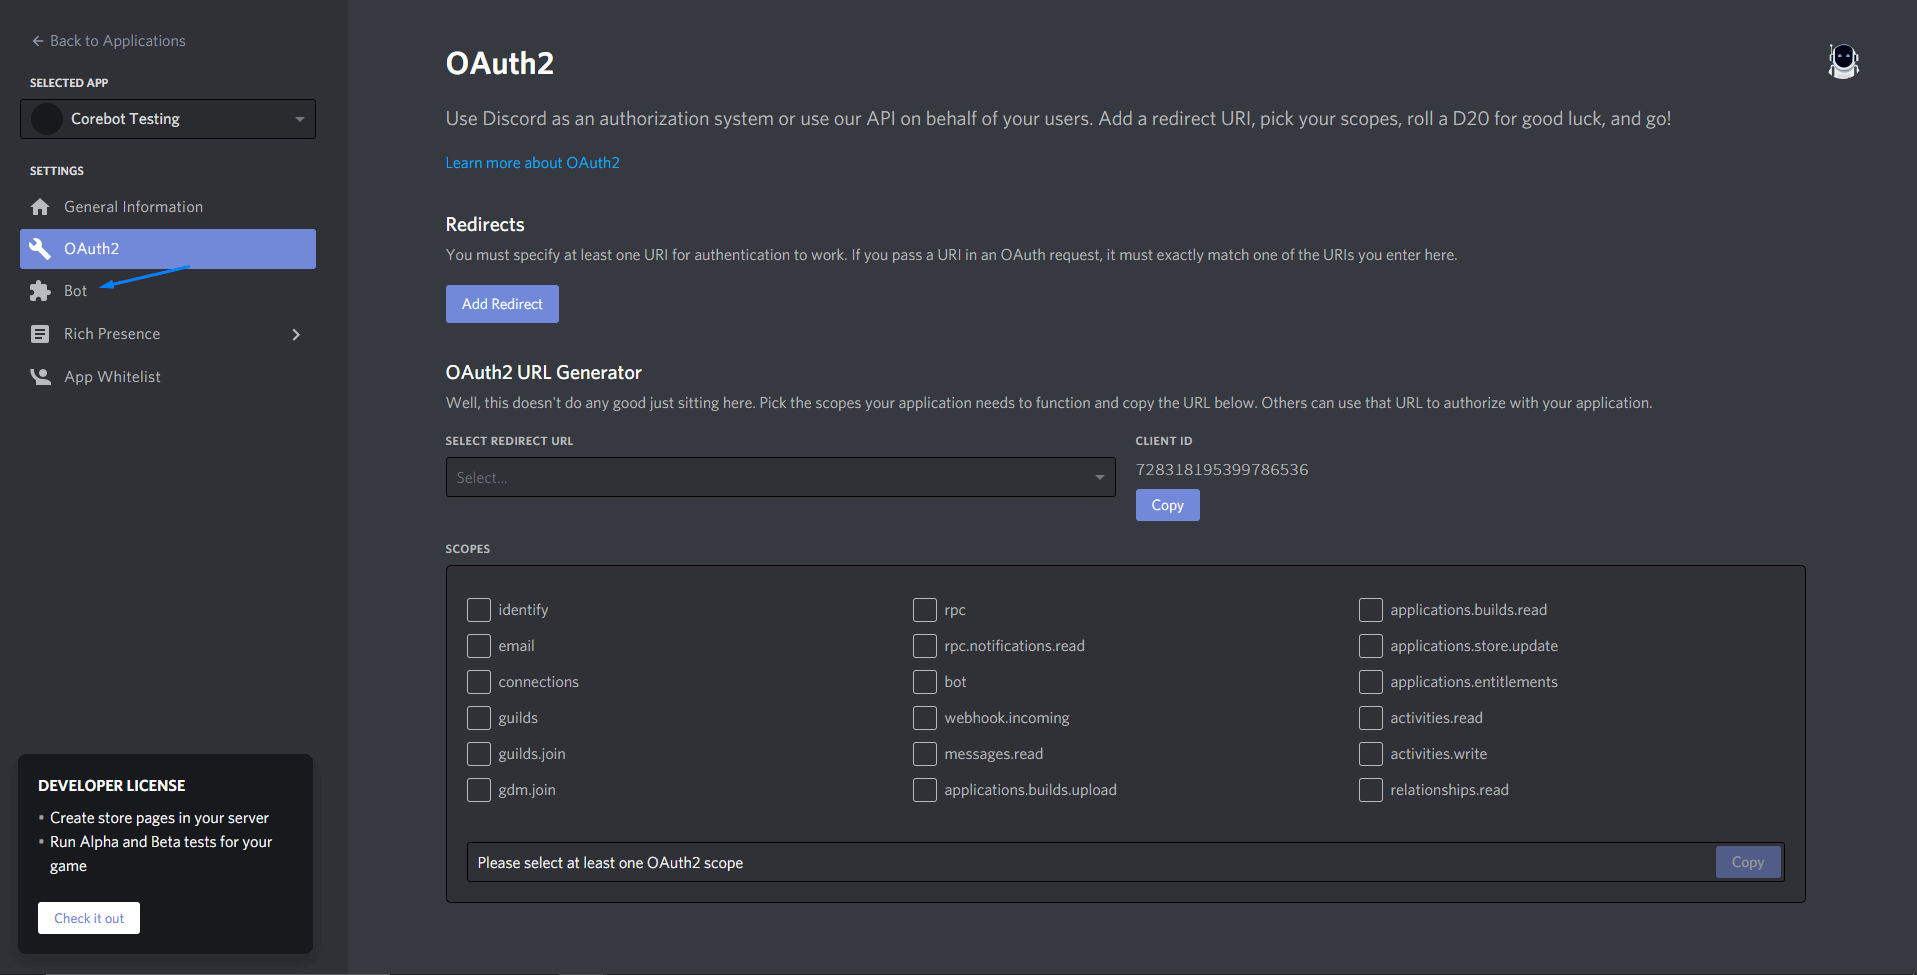
Click on the OAuth2 tab on the left-hand side of the page.
Select the bot AND applications.commands scopes and Administrator bot permission, then go to the link that is generated.
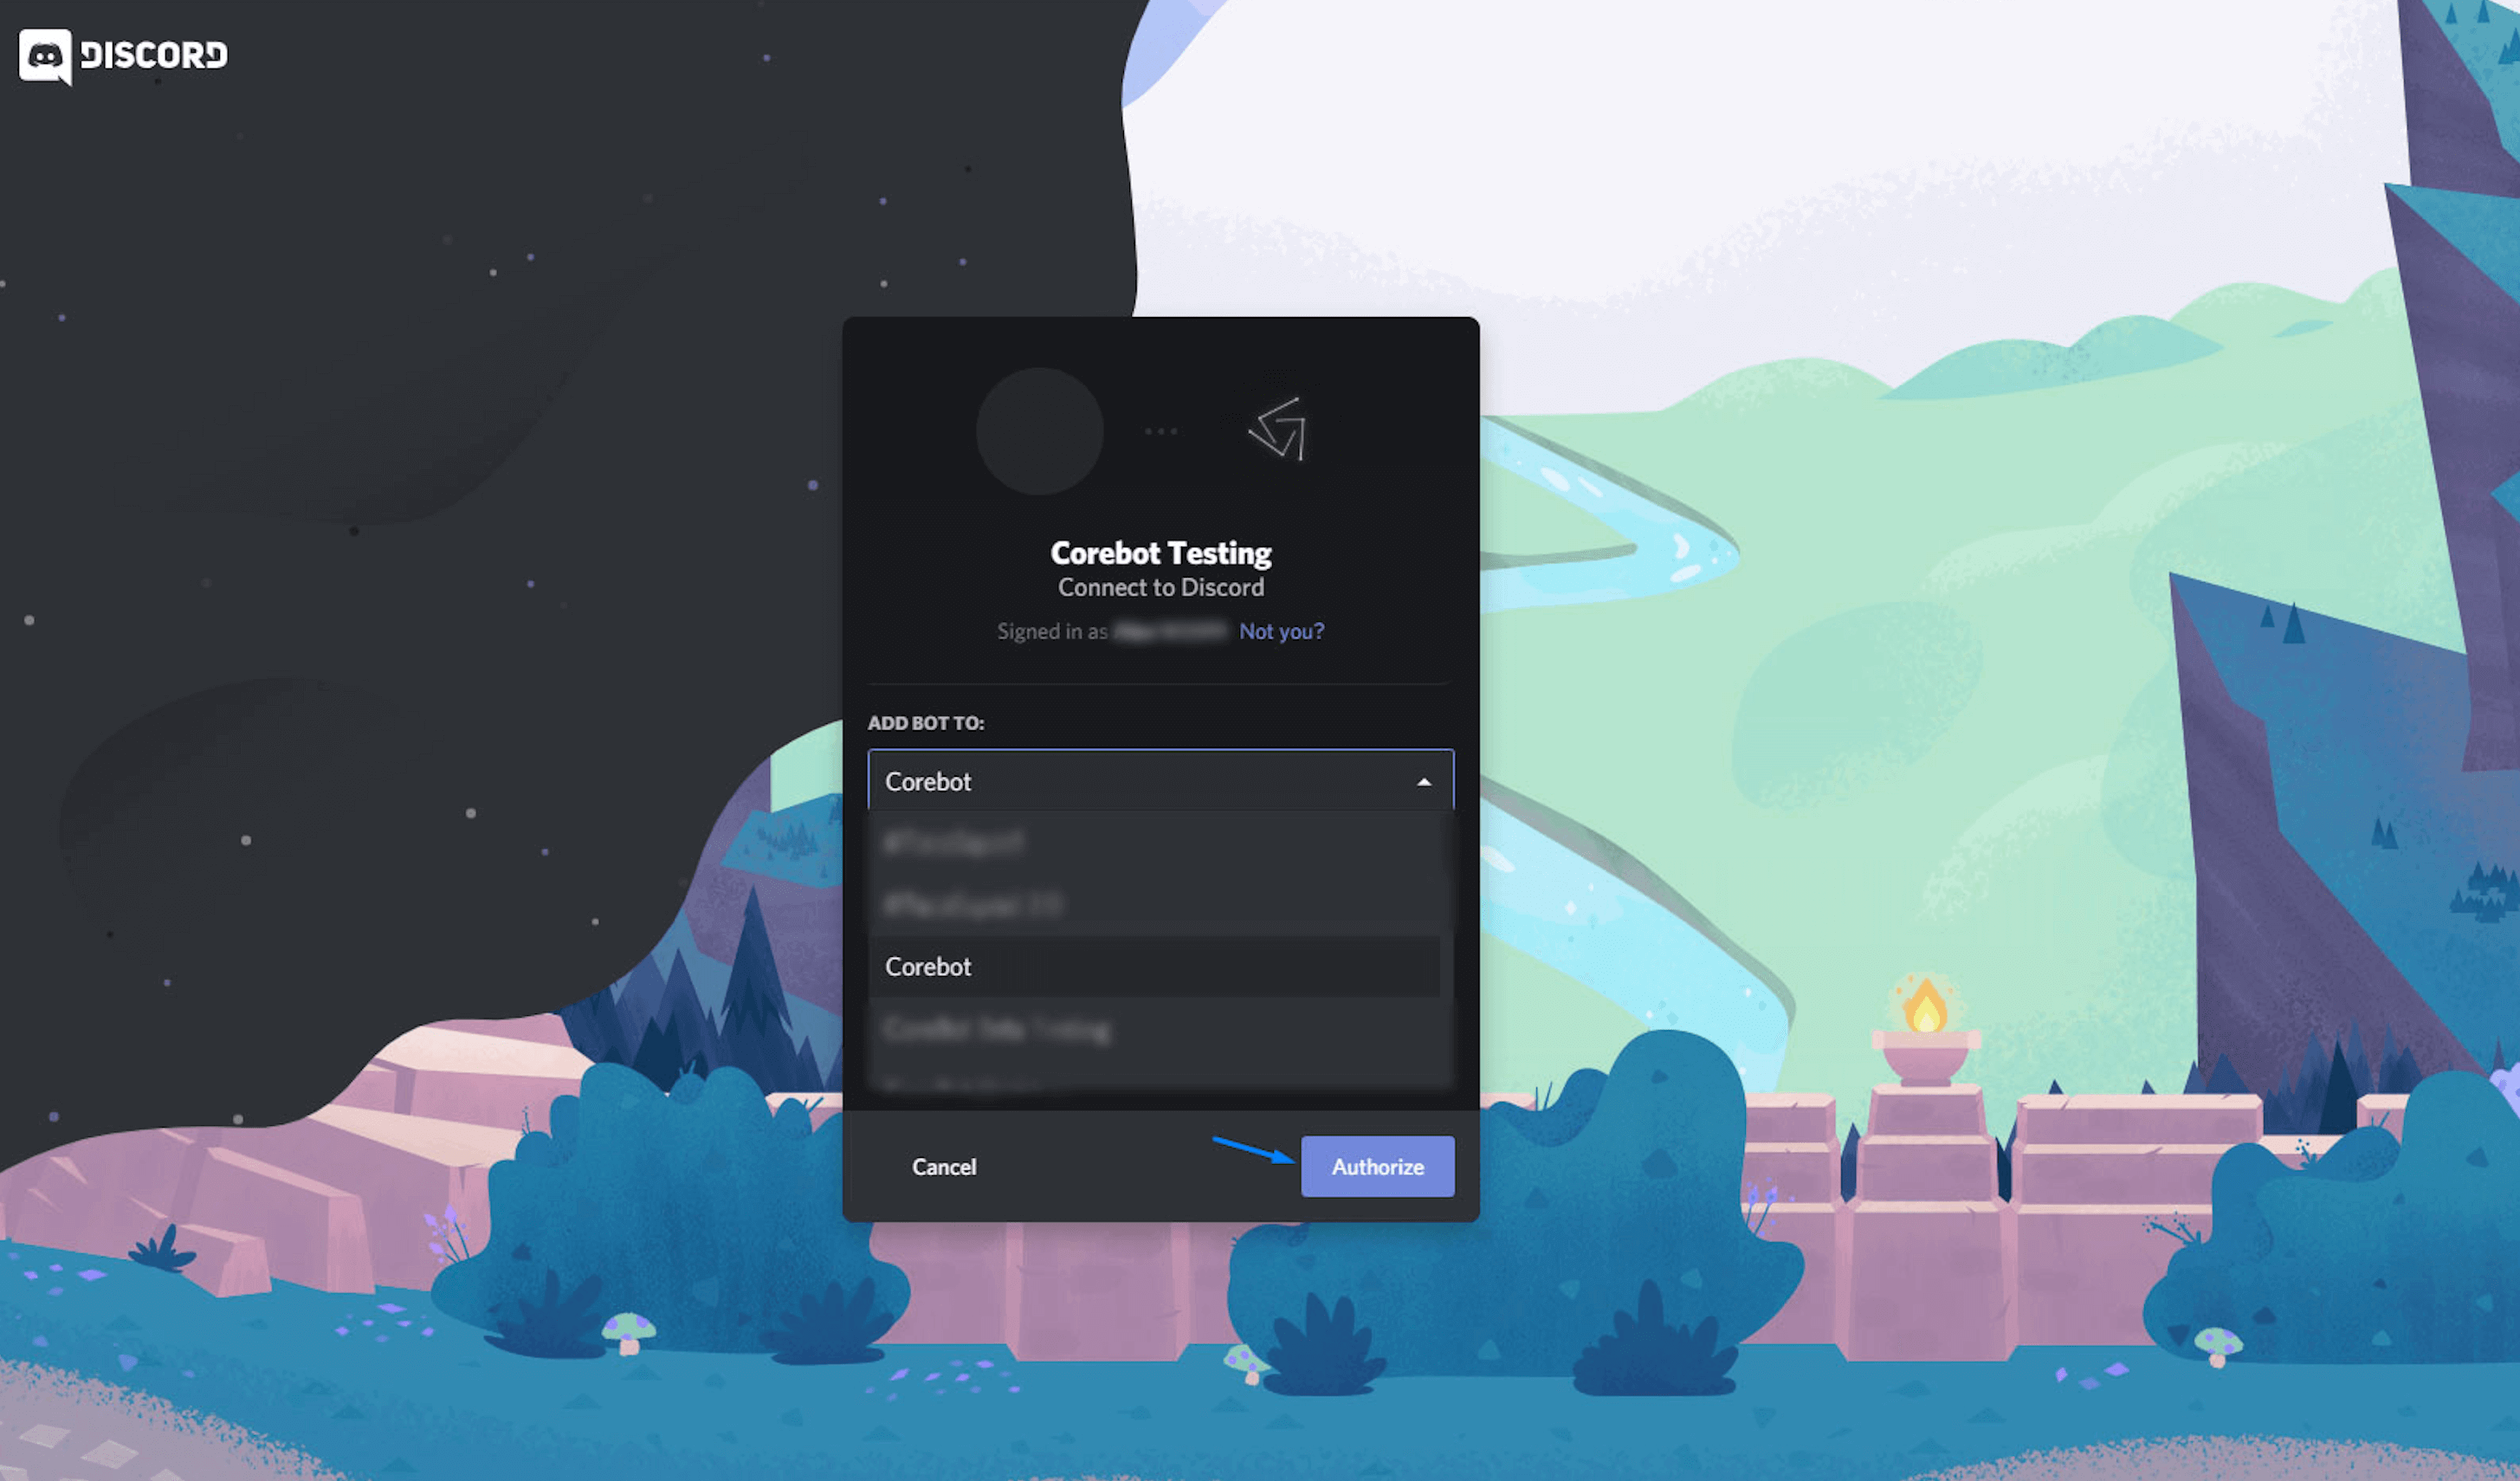
Select your server and click the Authorize button.
Securing your bot
Go back to the Bot tab on the left-hand side of the page.
Disable Public Bot and enable Reqiures OAuth2 Code Grant then save your changes
Getting your license key
You will now need to verify your purchase with the Corebot team in order to receive your license key. You can do this by:
- Joining the Corebot Discord server.
- React with the ✅ emoji on the welcome message in the
#verifychannel. - Navigate to the
verificationticket category. - Provide the information requested by the bot to get your license!
Configuring your bot
You should now have a license key and a zip file containing the Corebot files. Let's start installing them!
Navigate to your Fragify's server File Manager and upload the zip file by dragging it into the file manager or using the "Upload" button.
Then extract the zip file by clicking on the Unarchive button.
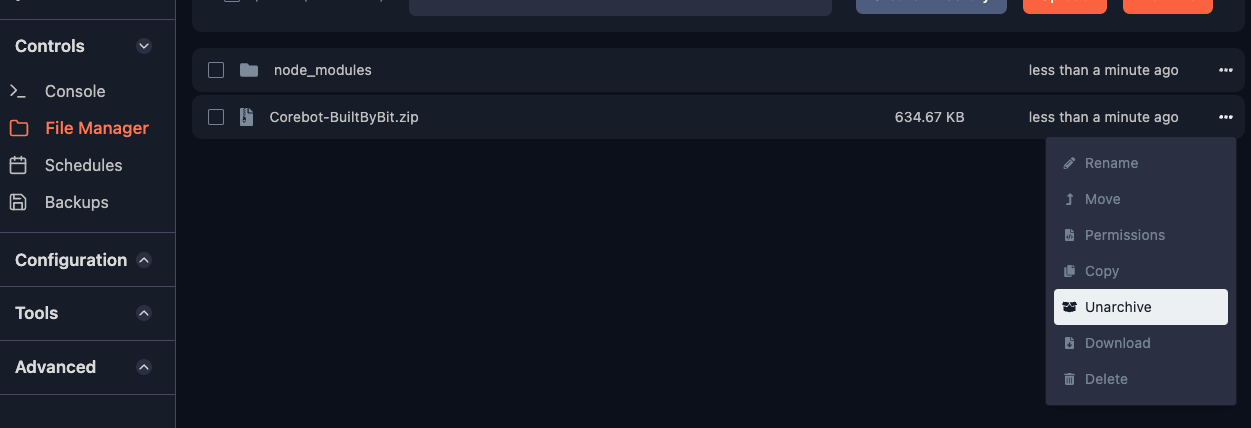
You should now see a configs folder. Navigate to this folder and click on the file named config.yml.
Token: "BOT-TOKEN-HERE"
Key: "BOT-KEY-HERE"
Add your Discord Bot Token under Token and your Corebot License Key under Key.
Feel free to change any of the configuration options below and start your bot!